
Now that we know the comet crash site lies on the Island of the Fiery Star, we must hurry there and find Brok’zul before he can unite the two fragments of the comet.
Turns out, Brok’zul has cursed the Ahi warriors, binding them under the power of dark totems. To free them, we must destroy the totems. But beware – the totems are guarded by tentacles and fire hounds.
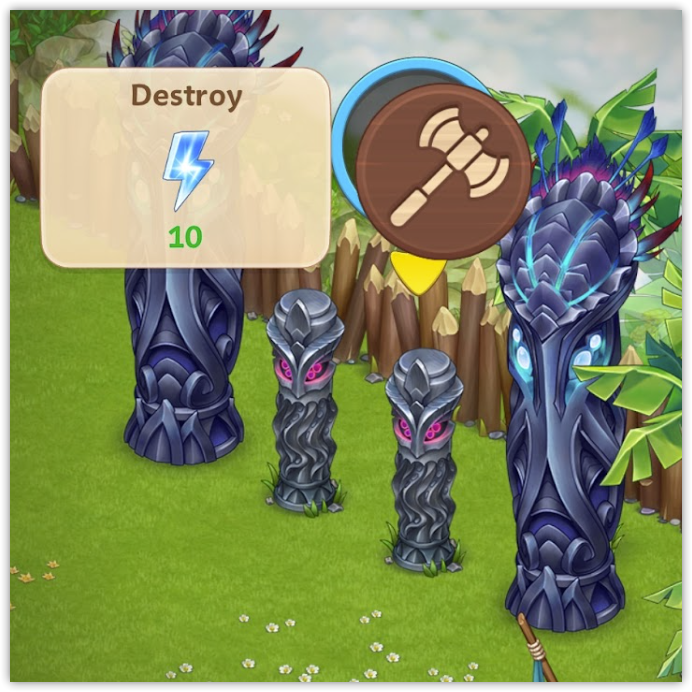
Once the defenders are defeated, the totems can be destroyed using either 10 or 25 energy, depending on their size.
With the totems gone, Oorgun regains the loyalty of his warriors and decides to establish his headquarters at the reclaimed camp. To secure it, we must reinforce the walls, which requires sturdy wood, so we need to find a sawmill.
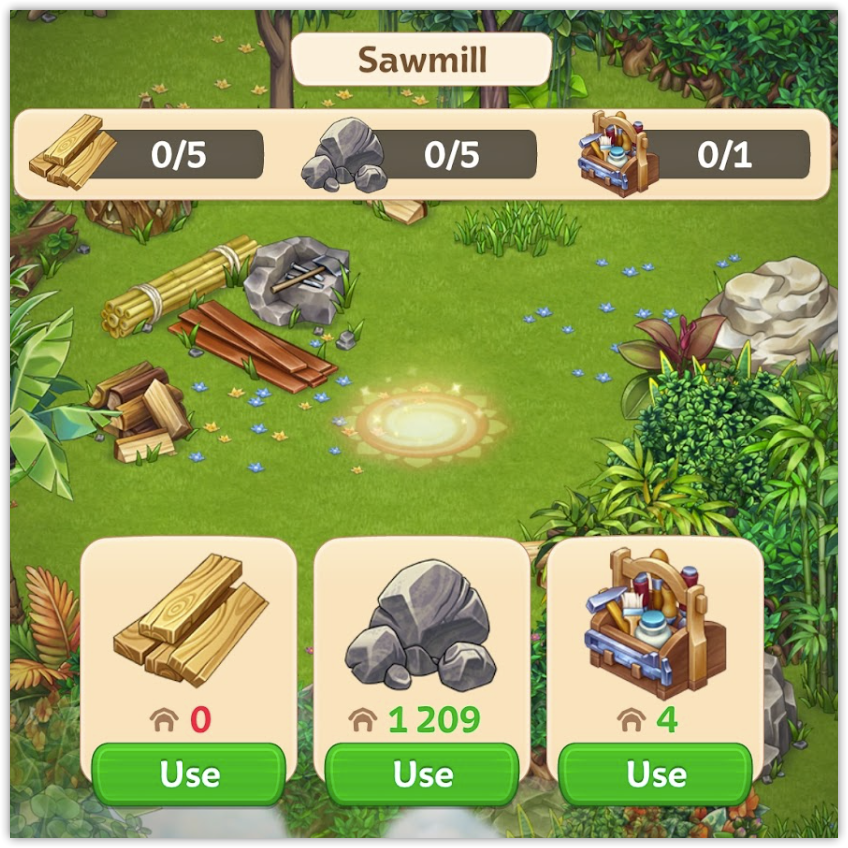
The sawmill is in ruins, but we can restore it with the materials at hand.
To get it running again, we’ll need workers from the Ahi headquarters. However, they won’t work without proper payment, so we’ll need some coins and a hearty mushroom stew that can be prepared in the cauldron.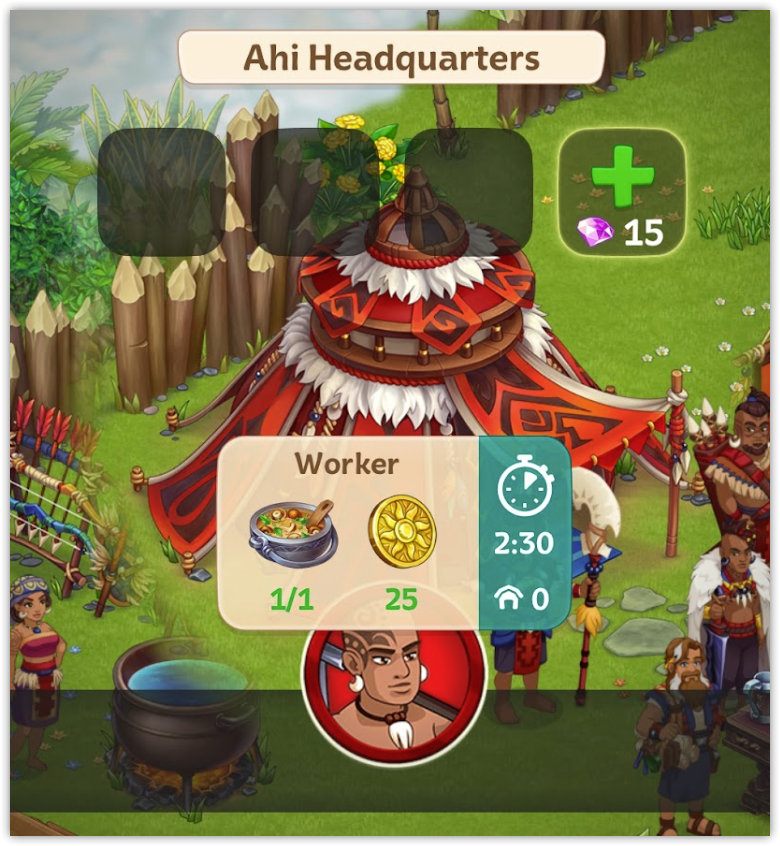
We can hire the workers at the headquarters tent. Once hired, they can be assigned to the sawmill. Workers only stay for a shift, so we’ll need to call in new ones when they leave!
There are several sawmills scattered across the island – the more you repair, the faster you can make lumber.
However, wood alone isn’t enough – we also need iron. By finding ore deposits and building a mine, we can establish a reliable source of metal.
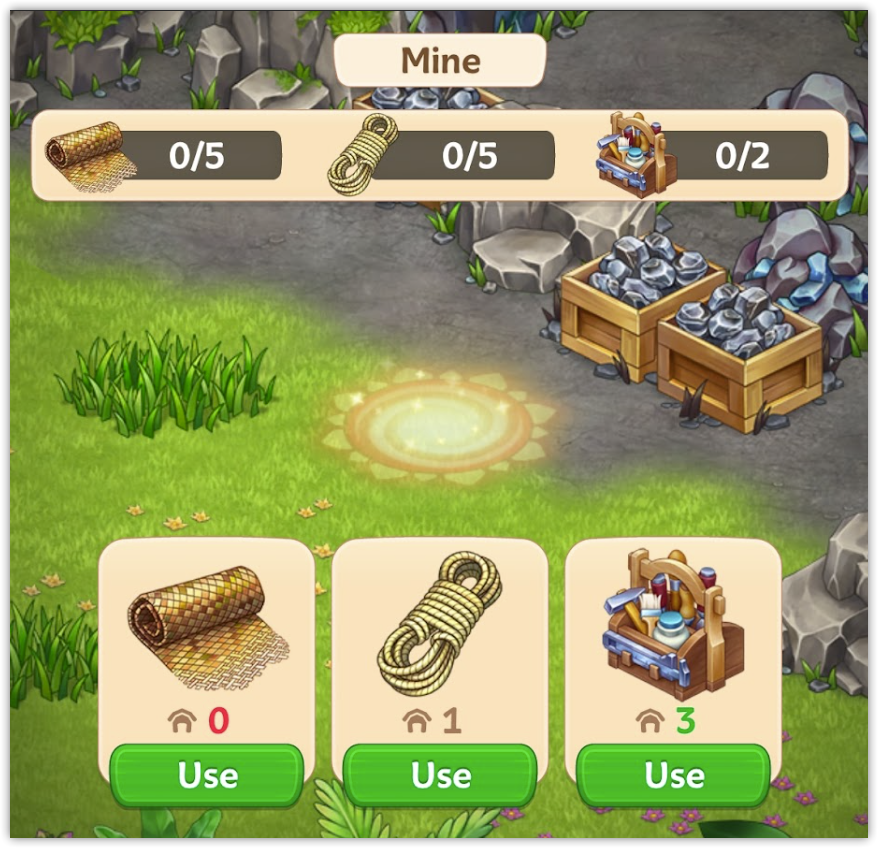
Mines, like sawmills, need resources for construction and workers to operate them.
You will find more mines while exploring the island – repairing them will allow you to collect more iron.
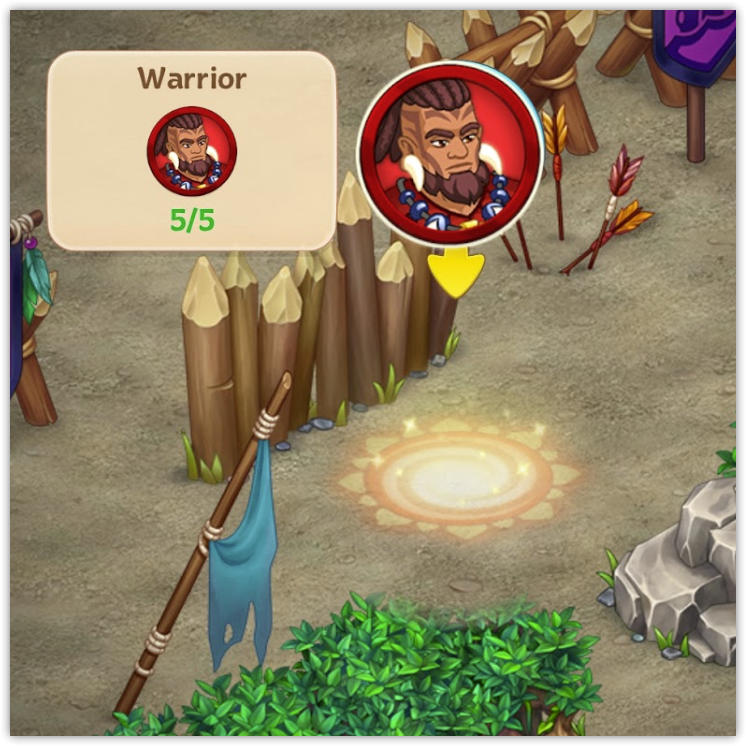
With enough lumber and iron, we can now arm our warriors and push deeper into the island.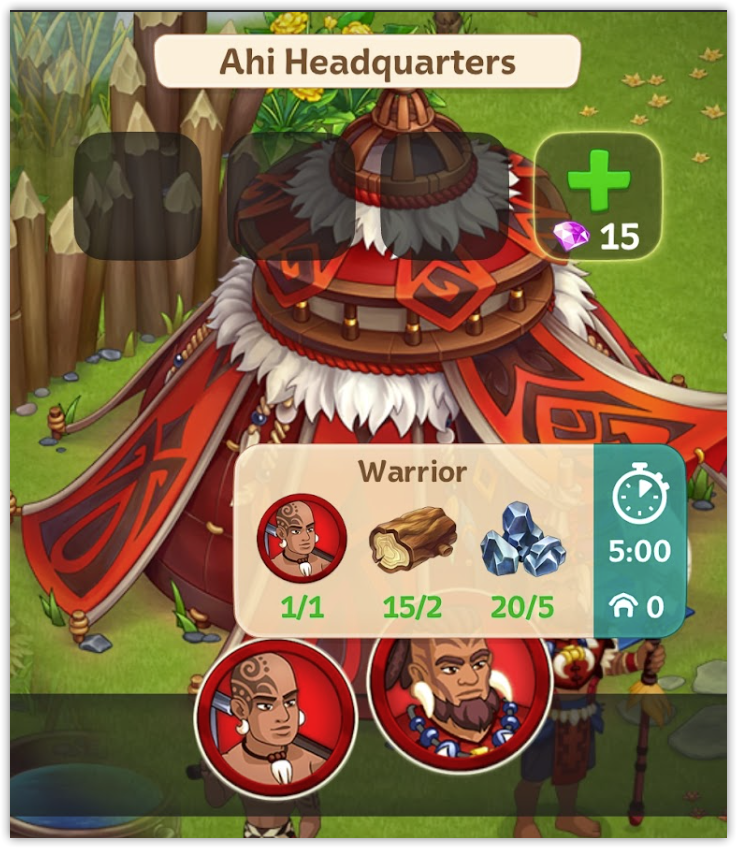
The workers will appreciate a career change!
When met with enchanted warriors, let’s assign our troops to hold them back and destroy the totems in the meantime!
But trouble strikes: our scouts fall into Brok’zul’s ambush and are trapped in a cave. Let’s hurry to their aid!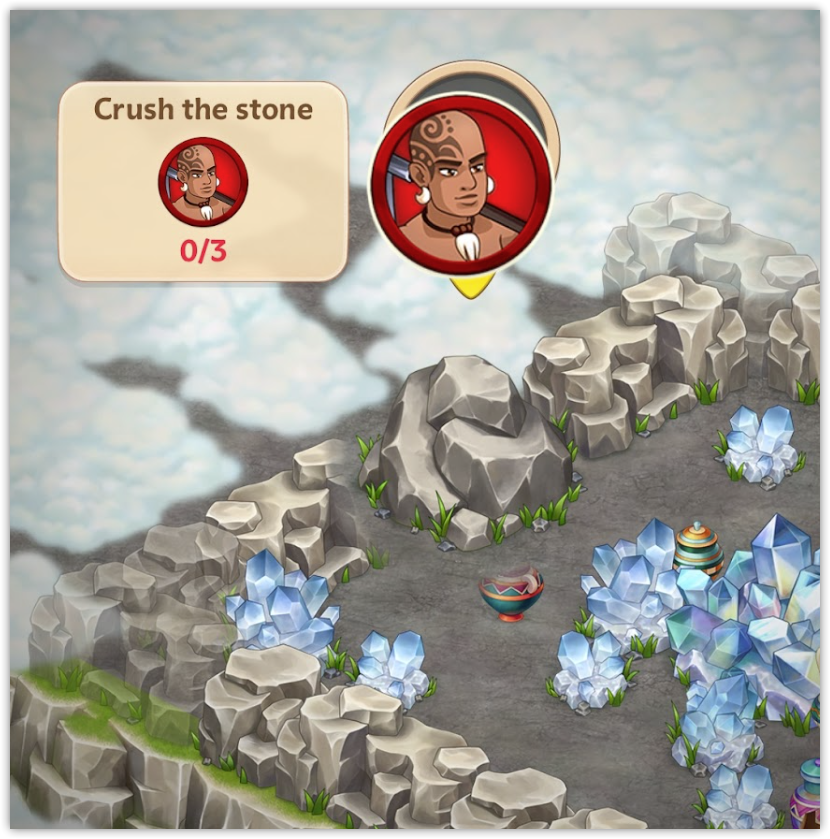
The cave hides many obstacles, but they can be easily removed with the workers’ help!
Having rejoined the scouts, we can continue advancing further. But Brok’zul’s fortifications are formidable! They’re guarded by the towers that cannot be approached directly. Luckily, Kiri – the emissary of the Quinoa tribe – and her skilled archers are ready to join our cause, giving us the means to bring down Brok’zul’s towers.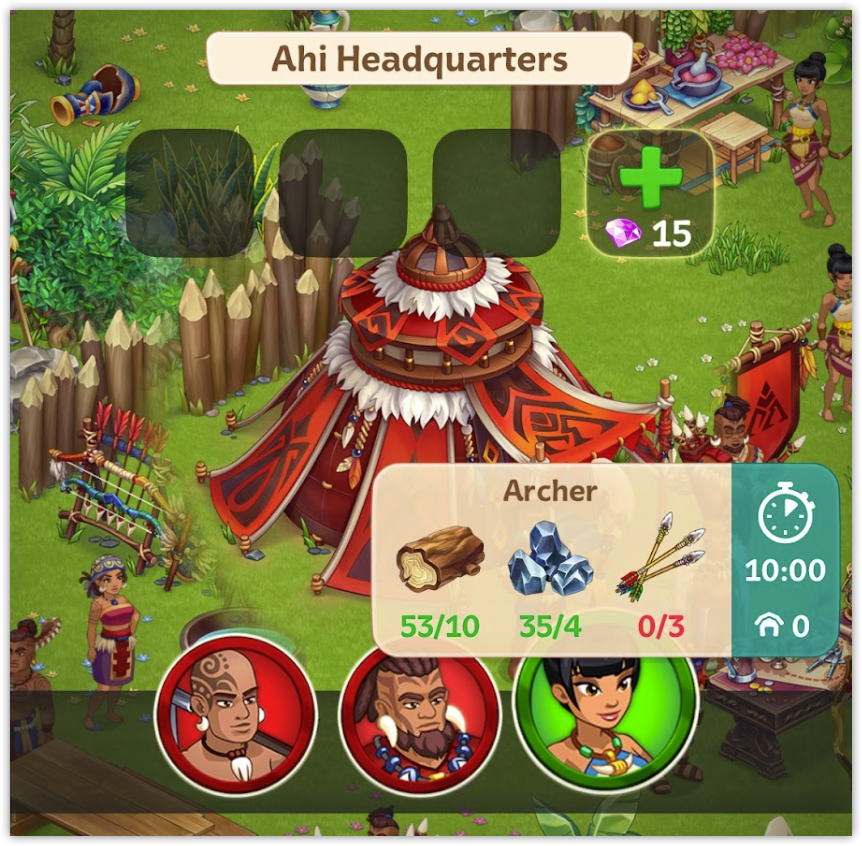
Hire Quinoa archers in the tent, and they will deal with the towers!
As we press forward, Uncle Alan arrives with troubling news – there are spies hidden among the Ahi camp! Fortunately, he has a plan to expose them. Talk to the warriors: those who refuse the honor of accompanying Oorgun into battle are Brok’zul’s lackeys.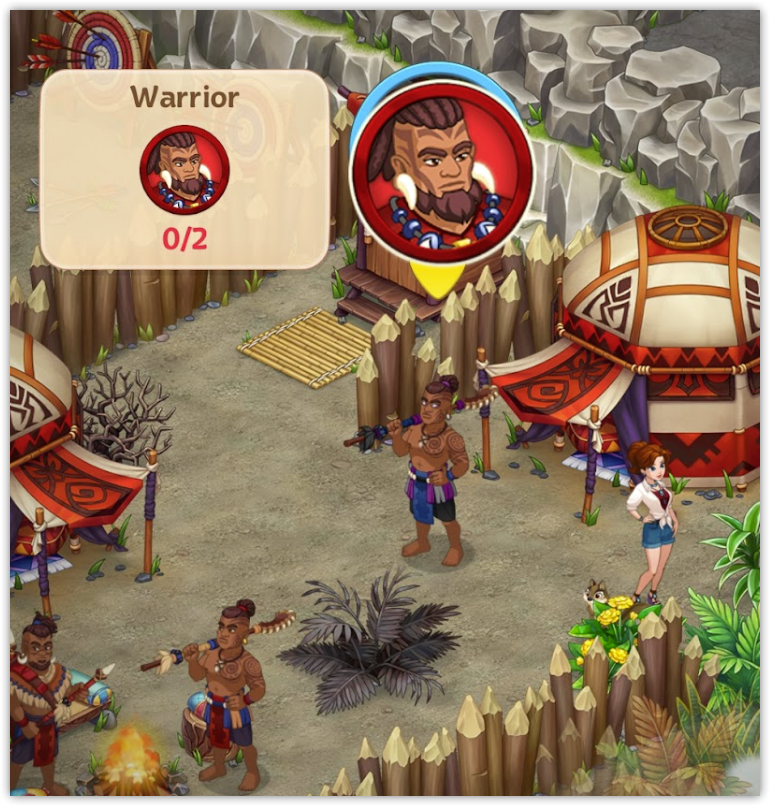
Tap on a warrior to talk to him – if he turns out to be a spy, tap again to summon the guards and capture him.
The closer we get to Brok’zul’s lair, the more impenetrable his defenses become. Parts of the camp are enveloped in the dark fog, making it impossible to advance! But as it turns out, priests of the Sun have their own score to settle with Brok’zul! They will help dispel the fog so that the Ahi troops can march forth.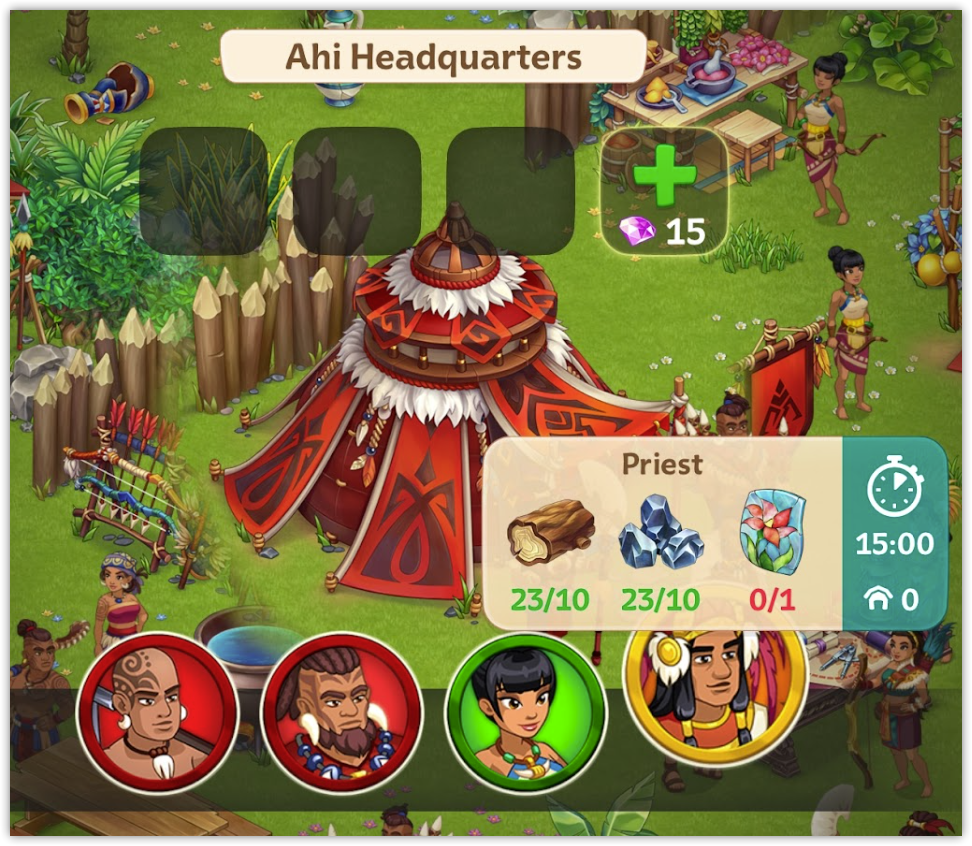
Much like other units, the priests can be hired in the tent.
Finally, we reach the entrance to the cave where Brok’zul hides. Hordes of monsters guard the way, but once they are defeated, the final battle begins.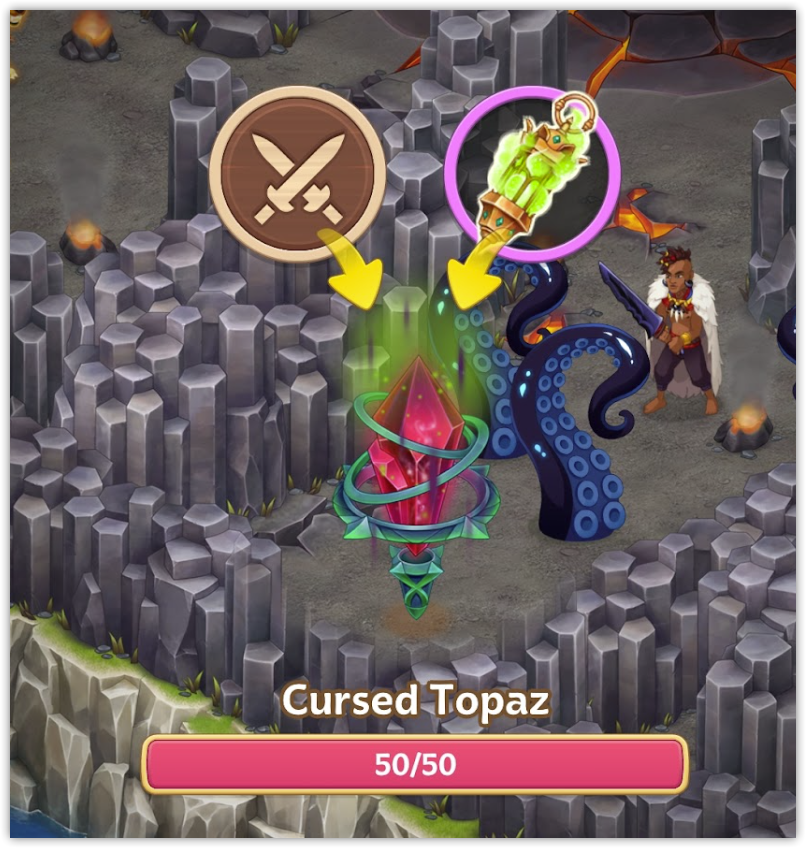
Brok’zul will try to shield himself with a magic barrier. Destroy the cursed topazes to weaken it!
Having mastered the power of the solar flame, Brok’zul turns himself into a mighty fire golem! Samantha and Oorgun must unite their powers to put an end to his plans once and for all!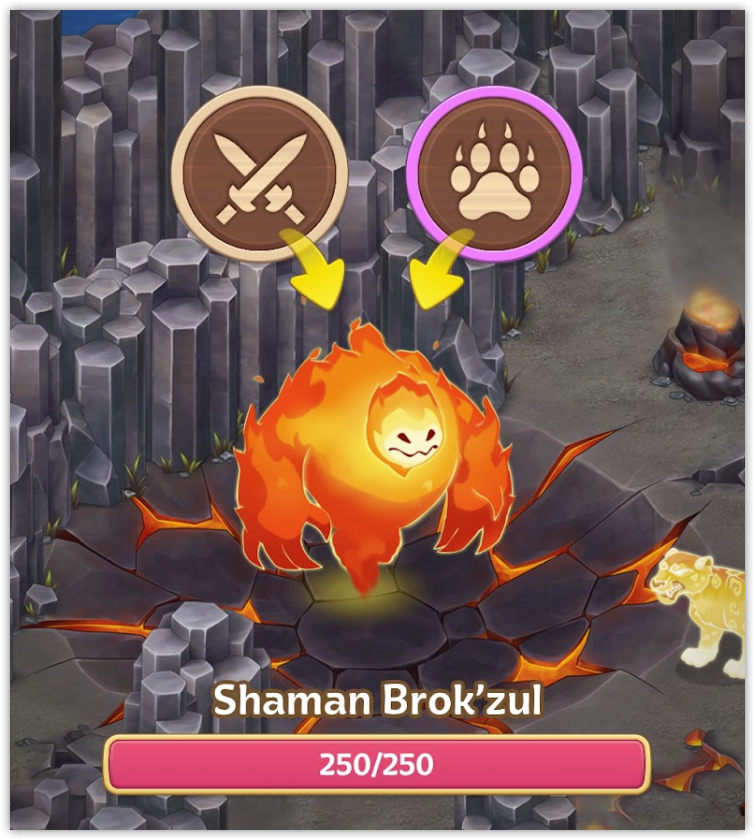
In this battle, Oorgun can unleash his jaguar strike – it’s more powerful, but takes two turns to recharge.
At last, Brok’zul is defeated, and the heroes rejoice! At the celebratory feast, speak to your allies to witness the dawn of the new era for the Taonga Archipelago!