
Next, we’re off to the Temple of the Sun, where a priest greets Samantha and Matt. Brok’zul is here too, and he has an advantage over us — the Temple’s blueprint. As the dark shaman slips through one of the entrances, it seals shut behind him, leaving our heroes only one path.
The Temple is full of traps and puzzles, so we’ll need some time to explore it. Samantha can try pulling different levers to see if they help disable traps and open the way deeper into the Temple.
Another challenge awaits us there — a tile puzzle that seems to be connected to the doors.
A correct combination on the console might unlock the gate… if luck is on our side.
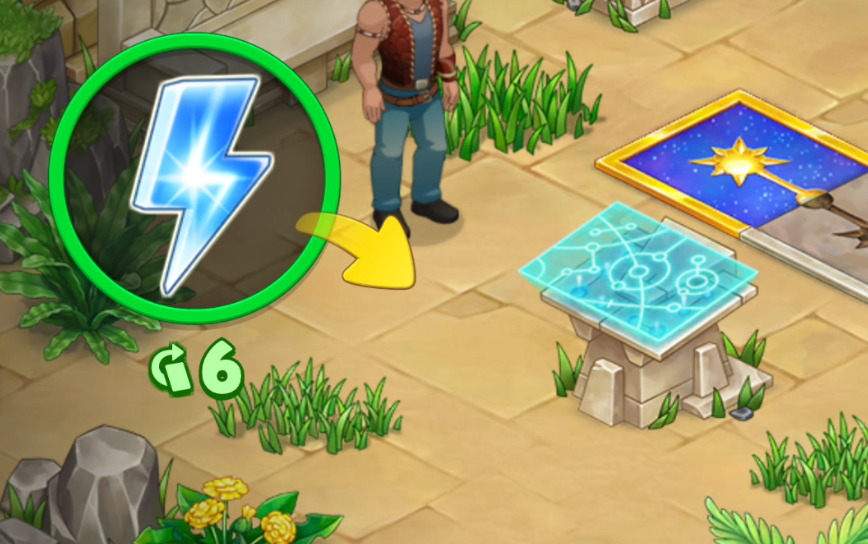
Each attempt costs 25 energy
We get six flips to try and find matching cards with the code symbol. 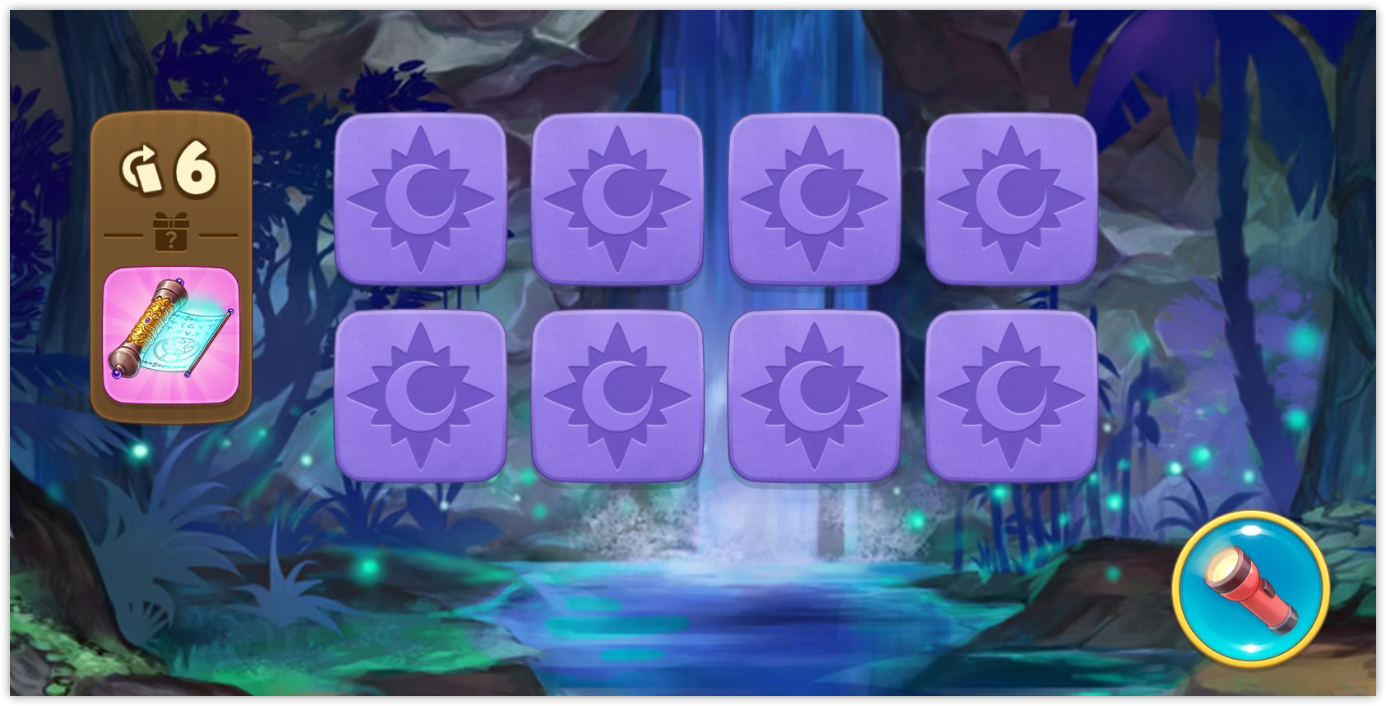
Additional rewards can only be collected along with the code symbol
3 code symbols are required to solve the puzzle and enter the next room.
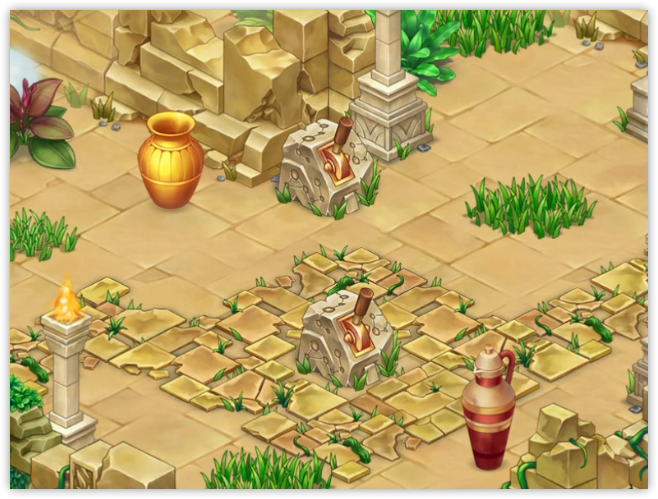
The next chamber holds a new puzzle. Before a locked door stand six columns — the kind where sun idols are usually placed. These idols must be hidden nearby… 
Trying to find them all, Samantha and Matt run into another locked gate. Two statues stand before it — one is strangely clean, the other overgrown with vines. Matt suggests searching for and cleaning more statues like these — it might be another clue to unlocking the way forward.
It takes 15 energy to clean each statue
More puzzles lie ahead. In one room, Samantha notices that the torches on the walls are flipped. It looks like they can be rotated.
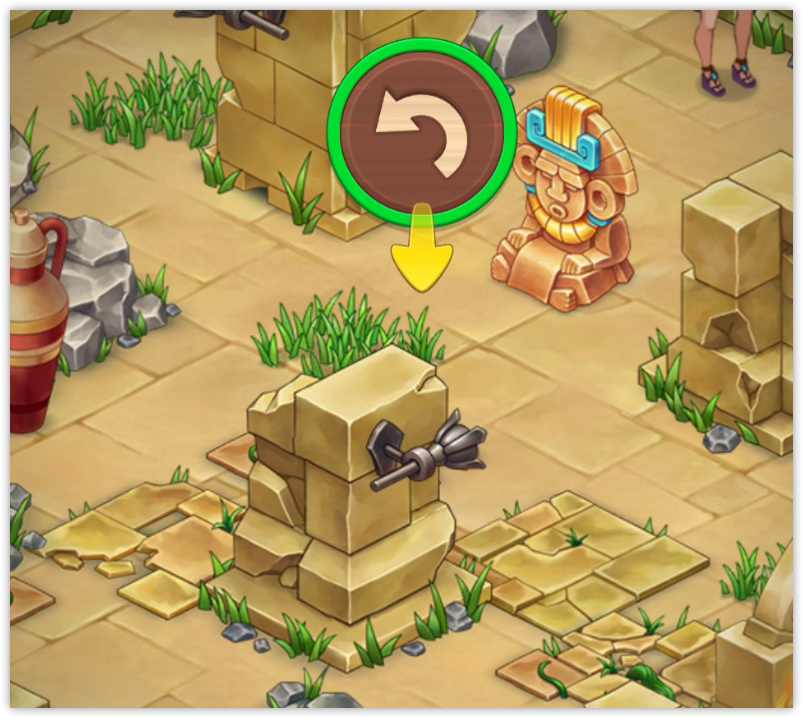
10 energy are spent to rotate each torch
Once five torches are turned the right way and lit, a new path opens. This is where the final sun idols can be found.
There’s another trap in the next room! Matt suspects that restoring and lighting the surrounding torches might disarm it. 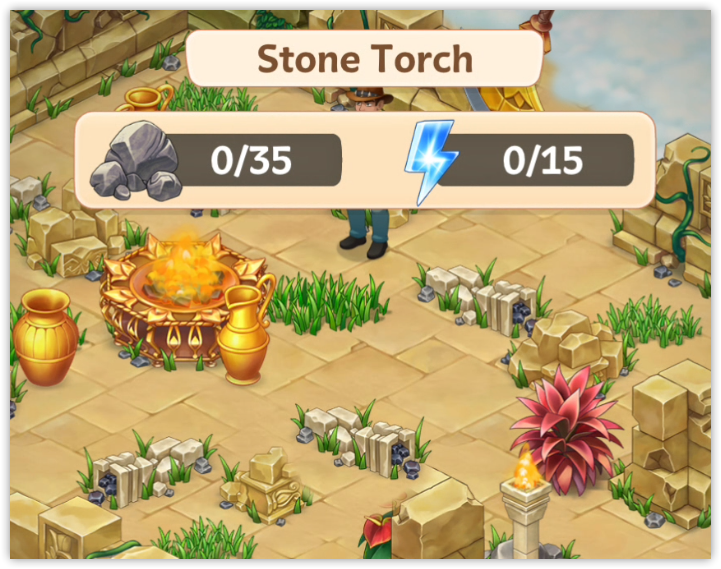
35 rocks and 15 energy will be enough to restore and light each torch
The false floor trap is another obstacle that we have to deal with.
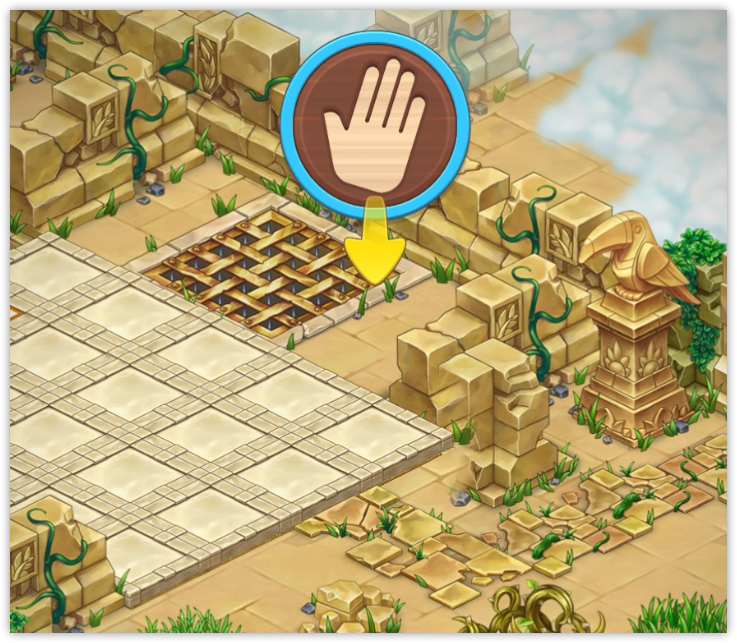
Samantha can use 10 energy to check if a tile is safe to step on
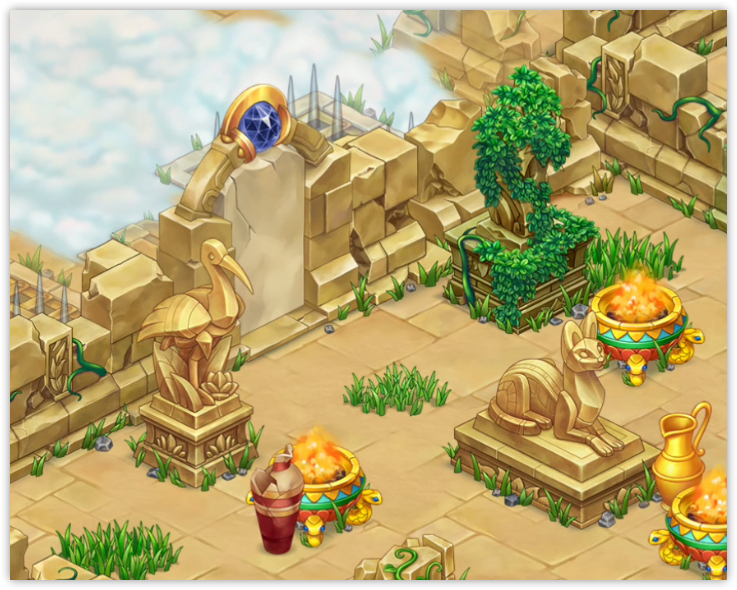
Following a path marked with sun icons, Samantha and Matt enter yet another chamber. Here, we need to place the statue of the solar serpent in an honorary place.
But Brok’zul damages the statues, intending to destroy them. If we can gather the undamaged parts from both, we might be able to rebuild one complete serpent statue. First, we’ll need to retrieve them.
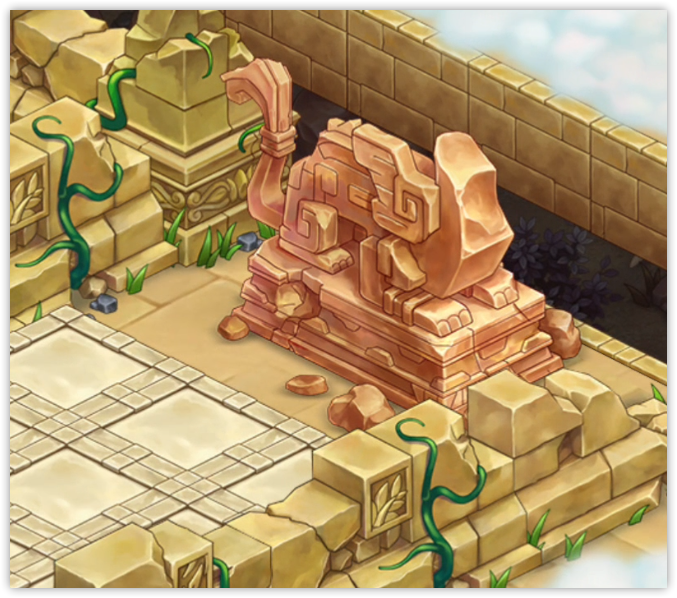
It costs 35 energy to recover a piece of the statue from the wreckage
Once both parts are found, Samantha and Matt combine them and place the restored statue in the honorary spot.
We continue our way, solving the puzzles of the Temple. Deeper inside, a scorpion lurks in the shadows. Samantha must fight it to move forward.
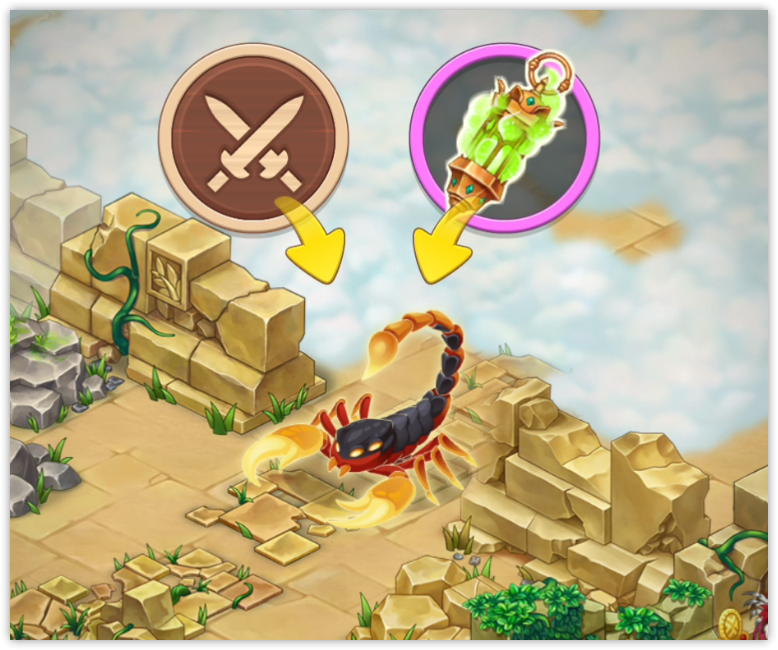
Hit a scorpion with 10 energy or use a banishing lamp
The battle is won, and we move on to the next chamber. Here, the ray of light should be sent in the correct direction for the gate to open.
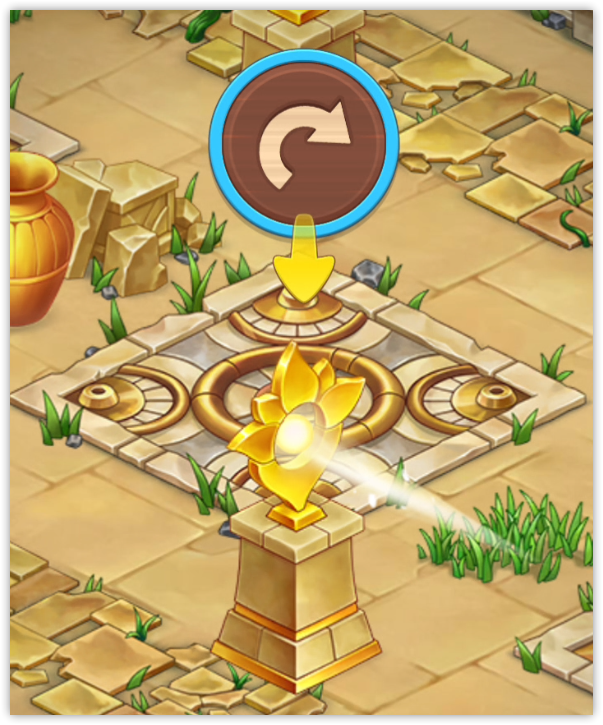
Rotating a column costs 10 energy per turn. Sometimes, multiple rotations are needed to align everything just right
In the following room, Matt realizes the puzzle ahead is far more complex than those we’ve faced before. Colored prisms sit atop several lamps surrounding a mysterious chest. Some are clearly missing.
These missing prisms are hidden in smaller nearby rooms. Once all five are found, we can place the colored lamps in the correct sequence to solve the puzzle.
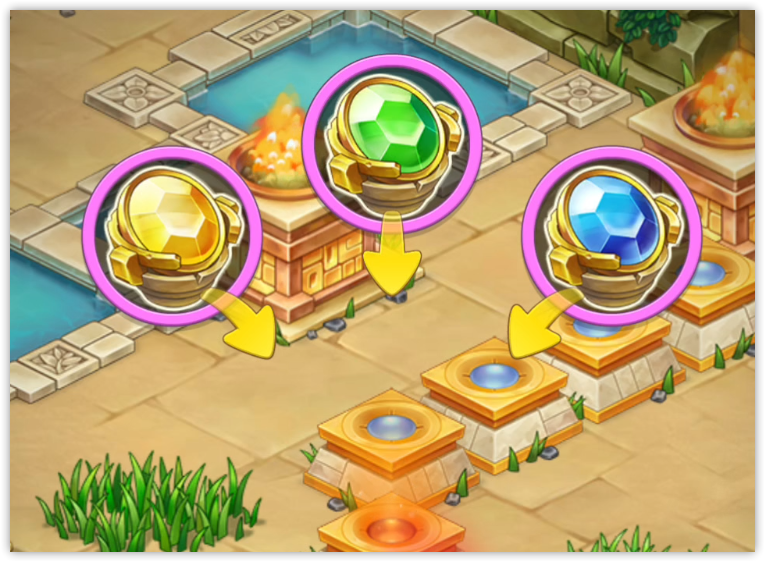
Now, we must choose one of three colors to insert into the next lamp. The clue lies in a previous chamber, where similar colored lamps were arranged in a specific pattern
As we delve deeper into the temple, we encounter a new challenge, this time involving weight. Chains hang around the room, and placing weights on them might deactivate a trap that blocks the path forward.
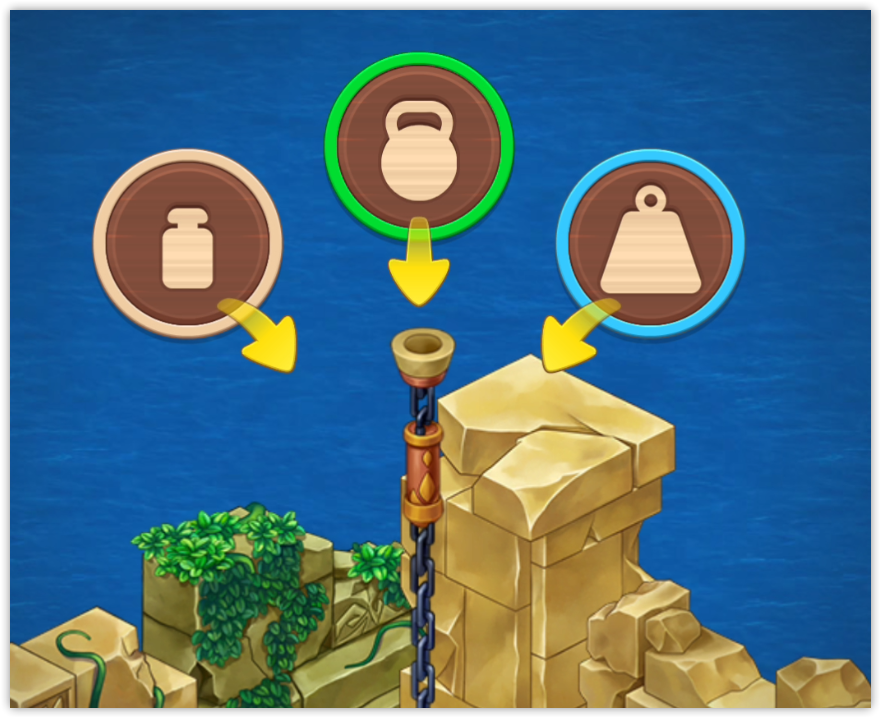
We can put a small weight and spend 10 energy and 10 stones, a medium weight and spend 15 energy and 30 stones, or a large weight with 35 energy and 50 stones
With the trap disabled, the gates swing open, and we see it — the Hand of the Sun!
But just as we’re about to claim it, Matt finds himself in a trap! Samantha rushes to save him, giving Brok’zul the perfect chance to seize the Hand of the Sun for himself. The mage vanishes in a cloud of dark magic, leaving us with nothing.
Outside, Uncle Alan meets us with grim news — Brok’zul has convinced Chief Oorgun to launch an attack on the Quinoa tribe! But before the assault, Oorgun must prove himself by visiting the Jaguar’s Den. Maybe we can intercept him there and change the course of events!
Hint: If an adventurer dares to take the alternative path, unravel more of the Temple’s secrets, and unlock the hidden chambers, a bonus reward awaits!